

ZWO and William Optics - How to install a ZWO EAF on the Fluorostar 91
Posted by Glenn Martin Photography on 29th Oct 2021
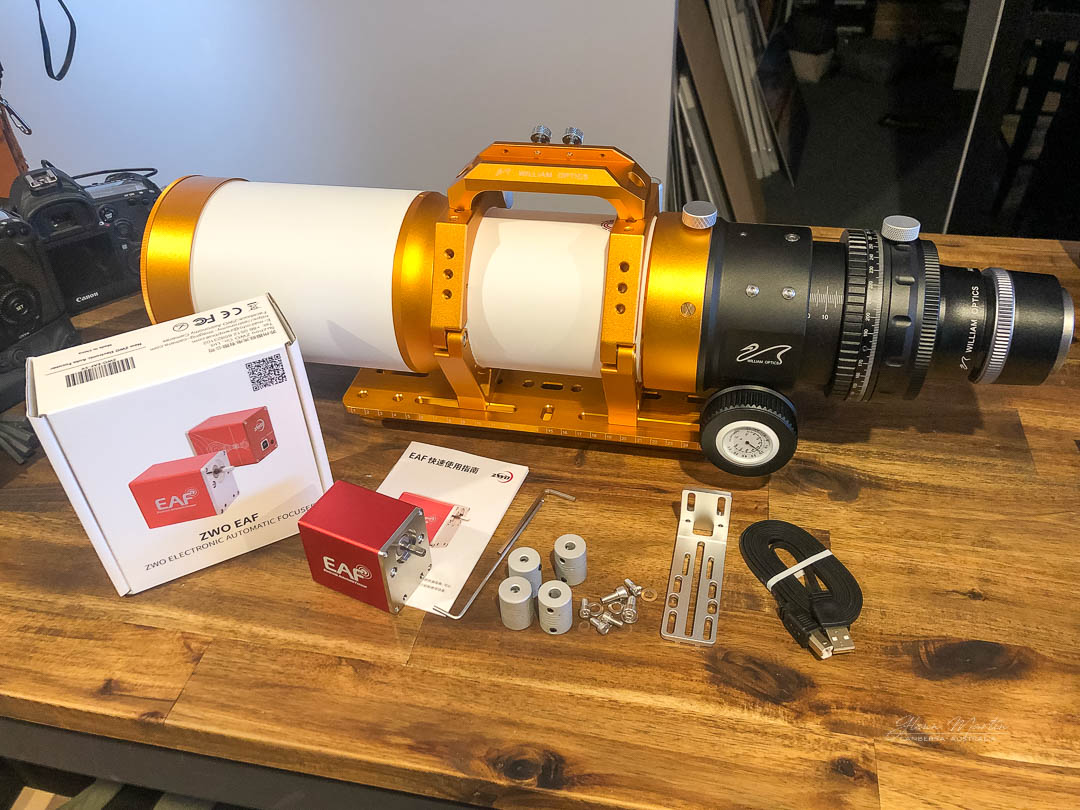
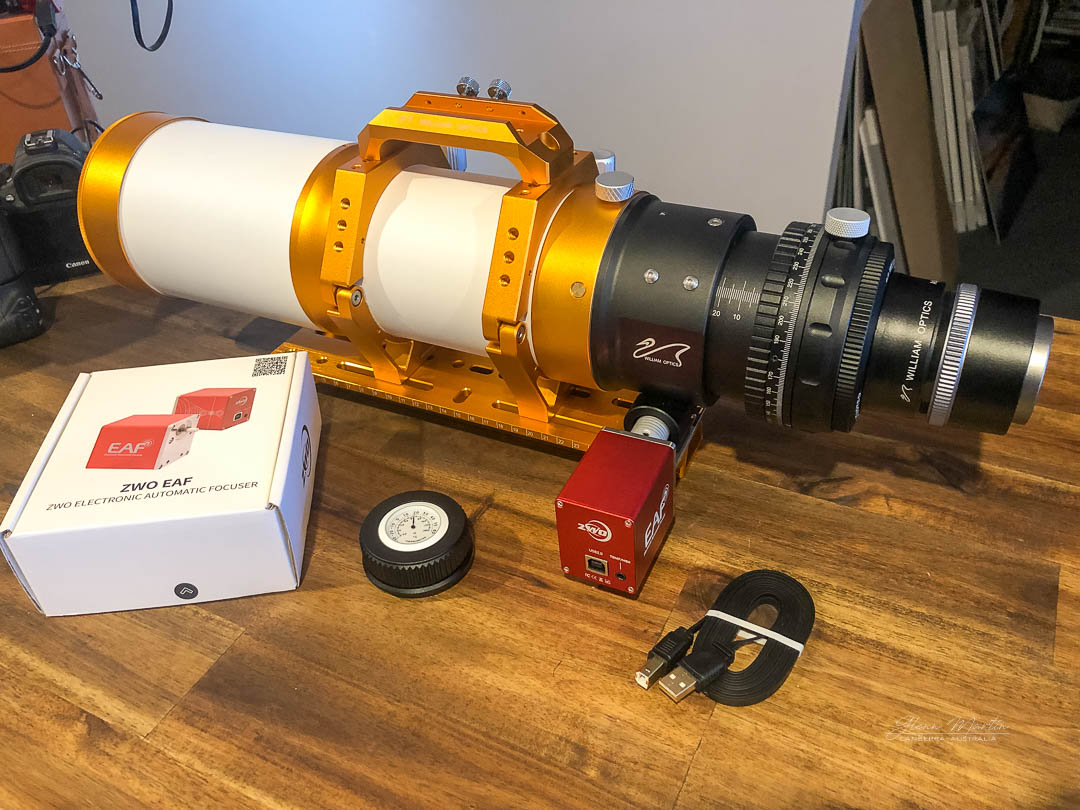
This is a guide to installing the ZWO EAF (Electronic Automatic Focuser) on a William Optics Fluorostar 91 refractor scope. I'm really glad I got the ZWO EAF, when paired with the ZWO ASIAir Pro the automatic focusing feature makes achieving solid focus quick and an absolute breeze
As of writing I don't have any experience installing an EAF on other scopes, so I can't say if following this will be accurate for your configuration if you have a different telescope
When your done you might be interested in videos I have on YouTube about astrophotography and photography more generally.
Agena Astro Affiliate Links - appreciated if this helps with your purchase decision
ZWO EAF to FLT91 key information
- The latest ZWO EAF came with everything I needed to install the focuser to my Fluorostar 91. I have seen online that this may not be the case for all William Optics refractors, or other telescopes, so definitely do some research for your setup
- The latest model is powered via USB cable. In my case I piggy-back it off my ZWO ASI2600MC Pro
- Once the EAF is installed you will no longer be able to manually adjust the focus if the EAF is not powered up
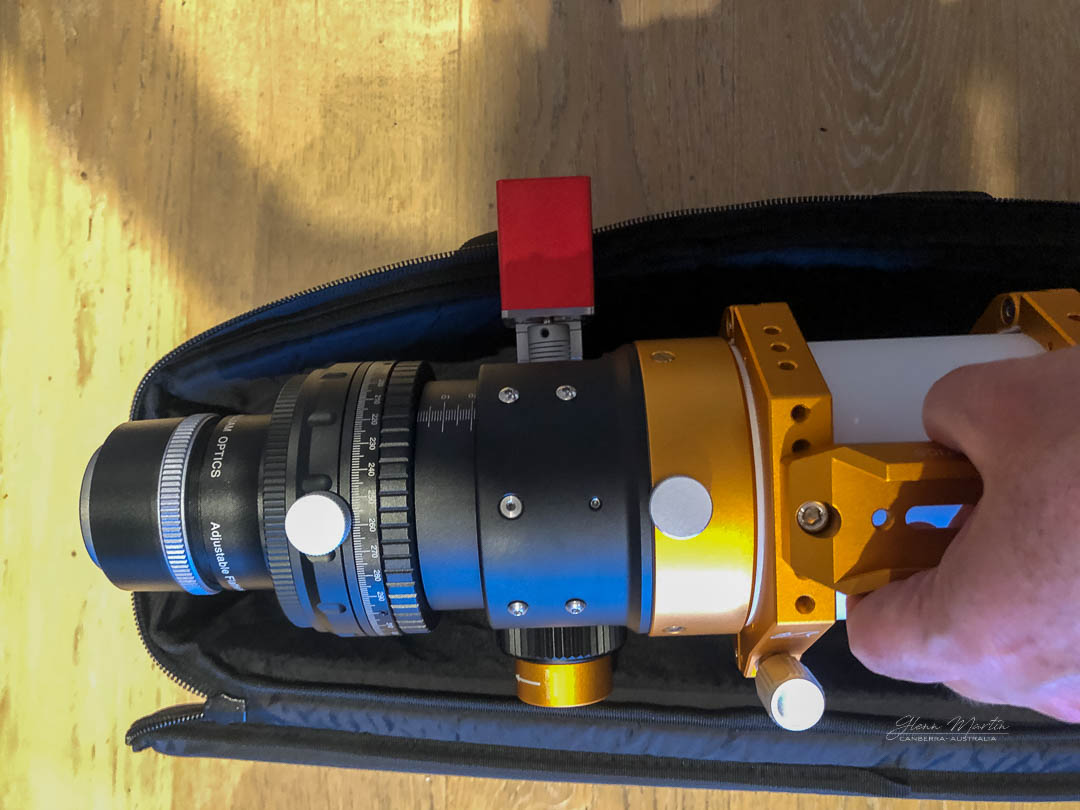
- It's also important to note that once the EAF is installed, you won't be able to use the William Optics bag that the scope came with anymore unless you remove the EAF - which is a shame
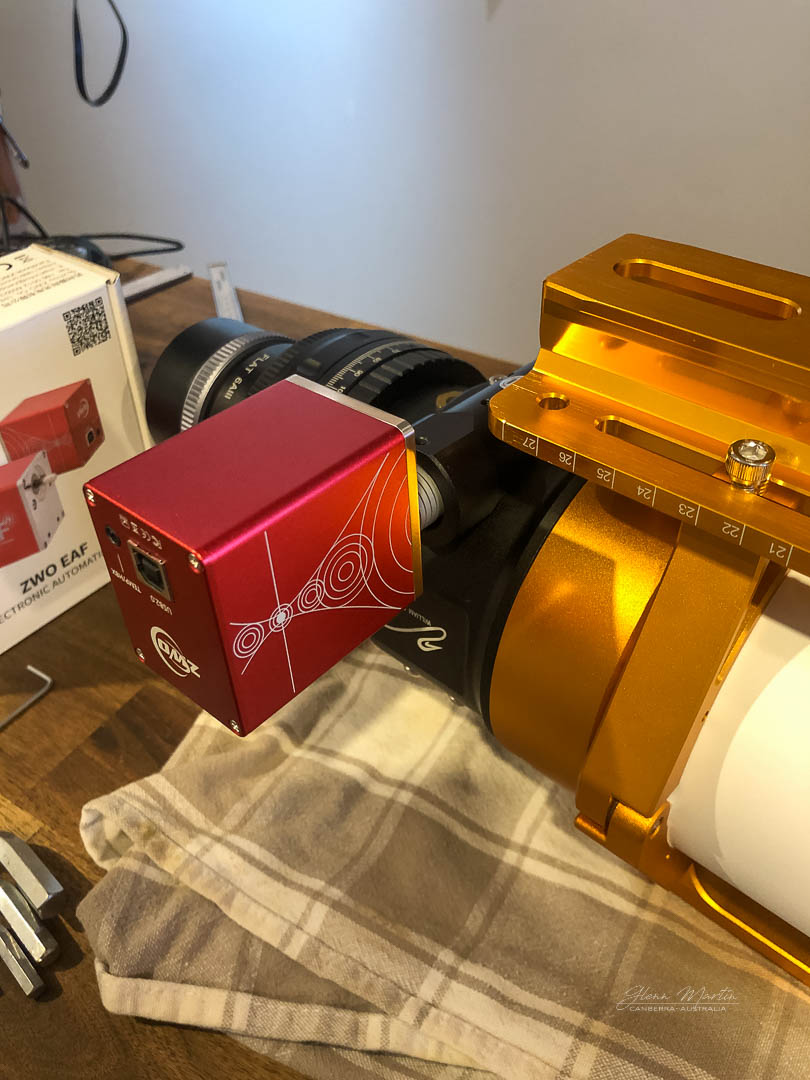
Go from this:
To this:
How to install the ZWO EAF on the William Optics Fluorostar 91
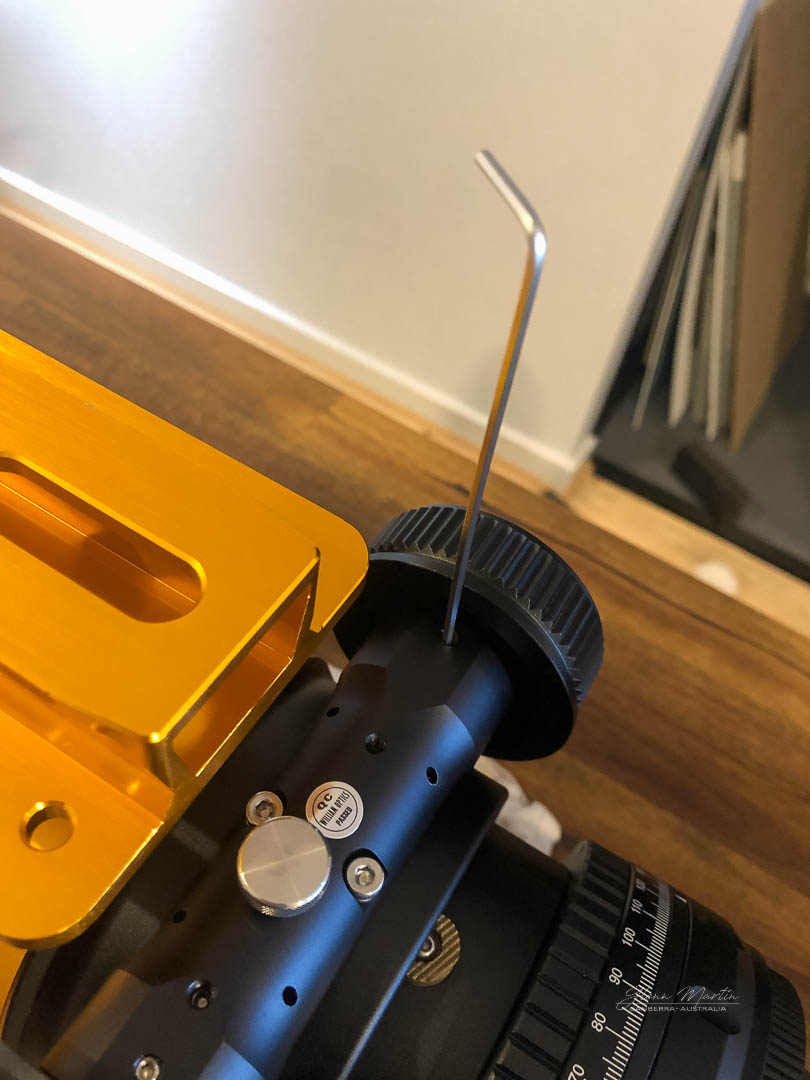
- Remove the temperature gauge off the telescope. There's an initial grub screw to remove which will them expose the screws holding the gauge to the shaft. Swap to the smaller Allen key and with a torch find the two screws at 45 degrees so just rotate the focus adjuster to see them through the hole. Undo enough to remove the gauge.
- Remove the large locking thumbscrew
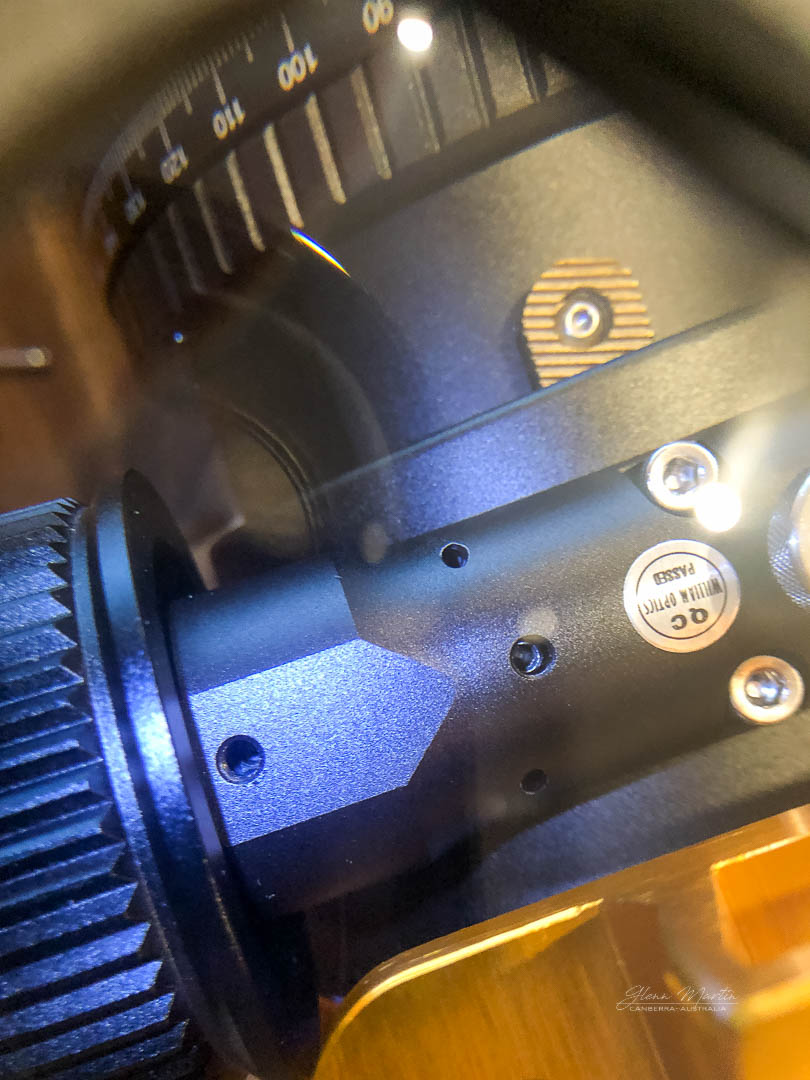
- Select the silver adaptor barrel with the third largest hole to install on the shaft the temperature gauge was on. Attach to the shaft making sure to orientate one of the grub screws to the flat face of the shaft. Tighten the two grub screws on the adaptor through the hole on the telescope you unscrewed the gauge from
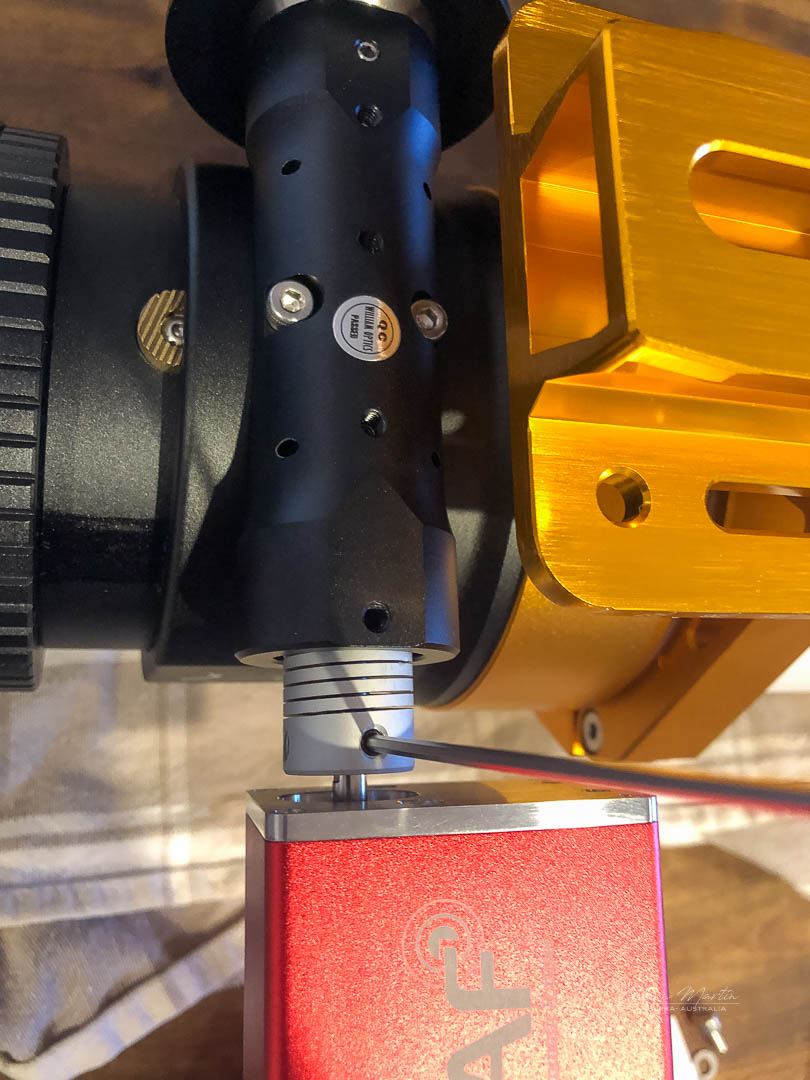
- Now install the EAF onto the other end of the adaptor making sure to have one of the two grub screws on the flat side of the EAF's shaft. Don't worry, it's meant to flex a little.
- With the focus knob on the other side of the scope, orientate the EAF so that the USB port is at the bottom of the scope with the vixen rail
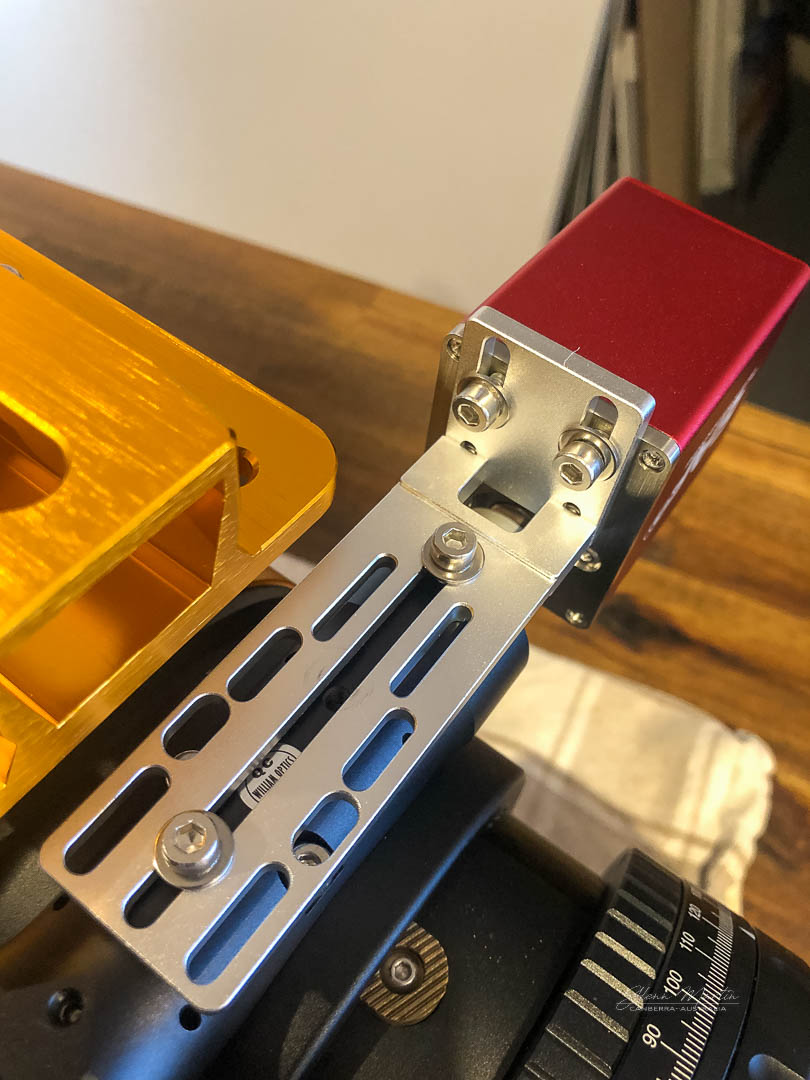
- Install the L bracket to the EAF first, but leave the bolts loose for adjustment. If necessary, loosen and move the Vixen rail for clearance (mine was fine out of the box). Next bolt the L bracket to the scope using the screw hole closest to the EAF, and the hole the locking thumbscrew was in previously. Adjust the focus knob as required to make sure the EAF is lined up squarely and then tighten the bolts on the EAF
- You're done! Step back and admire your work :) Note that your FLT91 will no longer fit in the bag that came with it unless you remove the EAF
The instructions are repeated below, but this time with pretty pictures
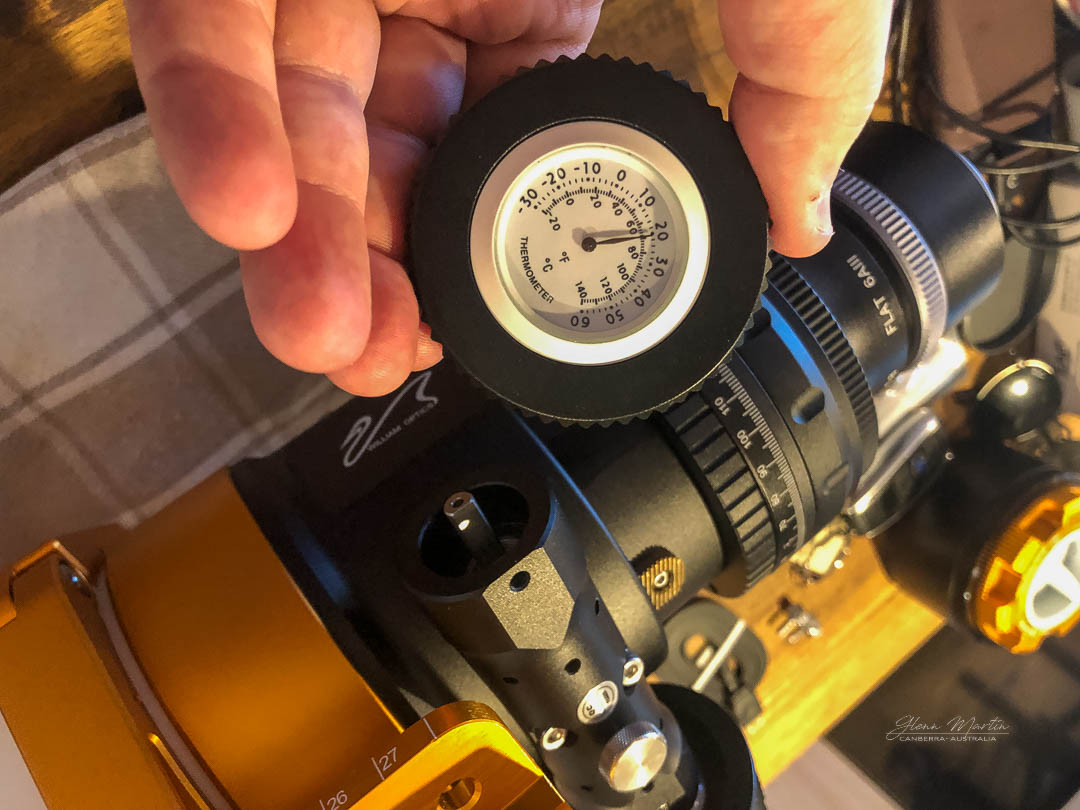
Step 1: Remove the temperature gauge
Remove the temperature gauge off the telescope. There's an initial grub screw to remove which will them expose the screws holding the gauge to the shaft. Swap to the smaller Allen key and with a torch find the two screws at 45 degrees so just rotate the focus adjuster to see them through the hole. Undo enough to remove the gauge.

Step 2: remove the large locking thumbscrew
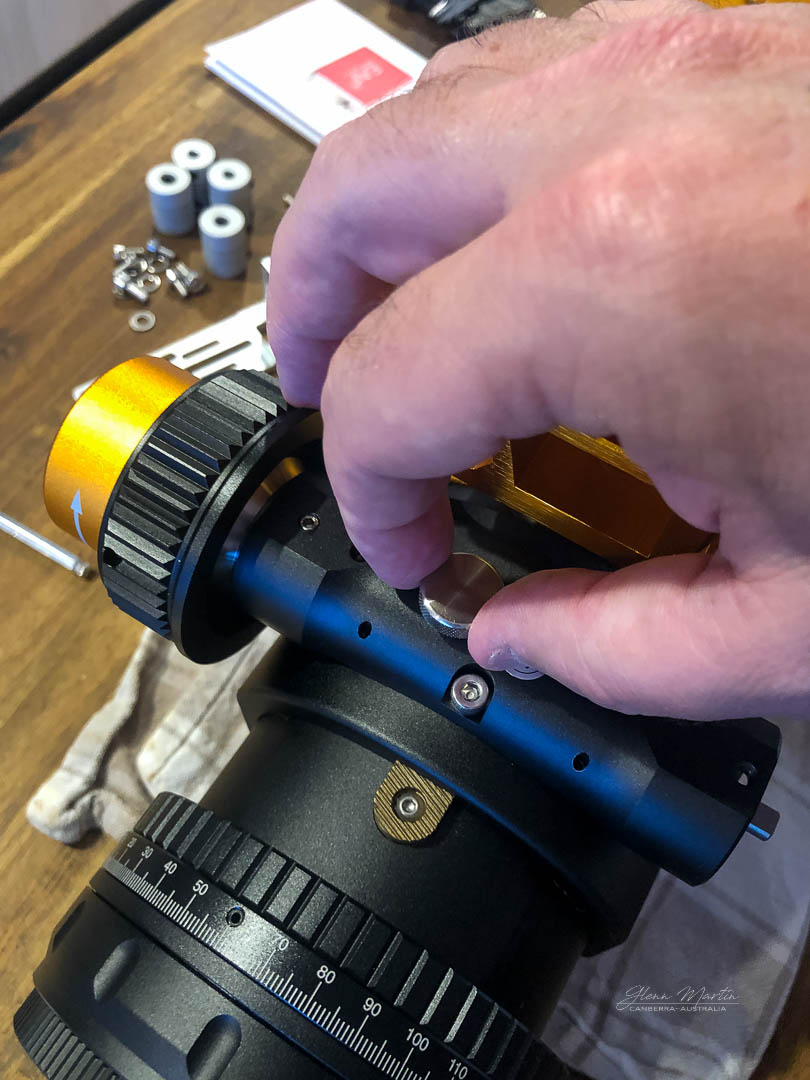
Step 3: install the adaptor
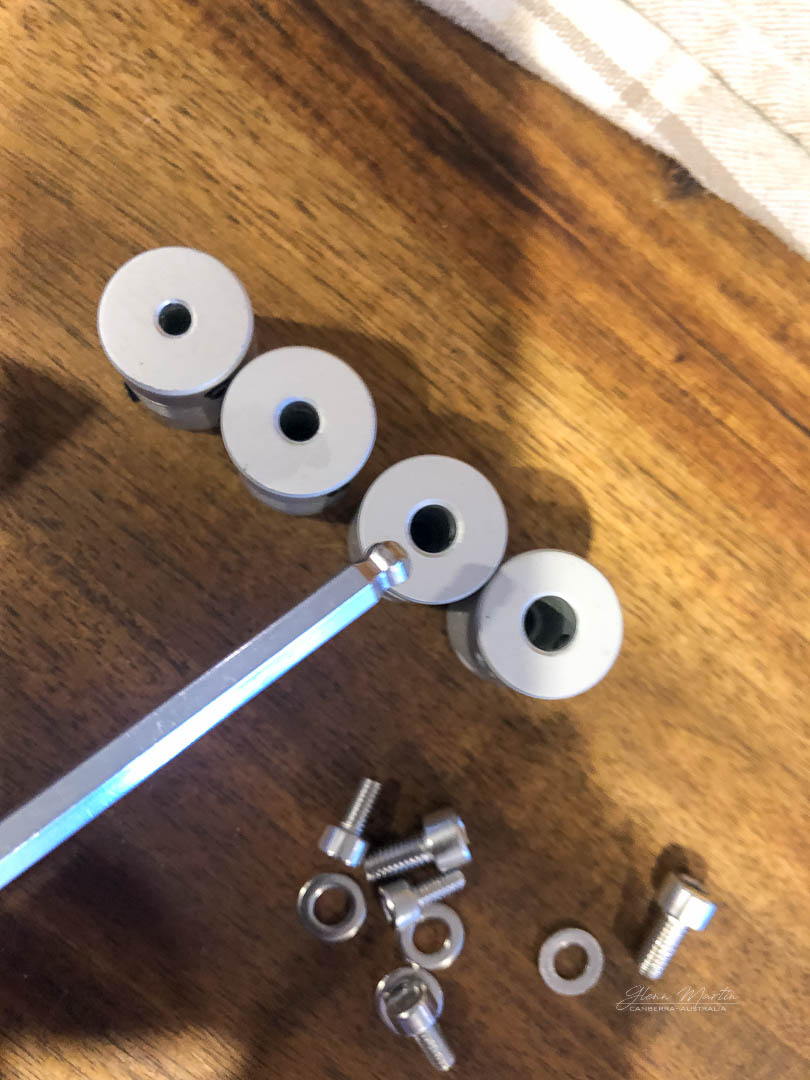
Select the silver adaptor barrel with the third largest hole to install on the shaft the temperature gauge was on. Attach to the shaft making sure to orientate one of the grub screws to the flat face of the shaft. Tighten the two grub screws on the adaptor through the hole on the telescope you unscrewed the gauge from
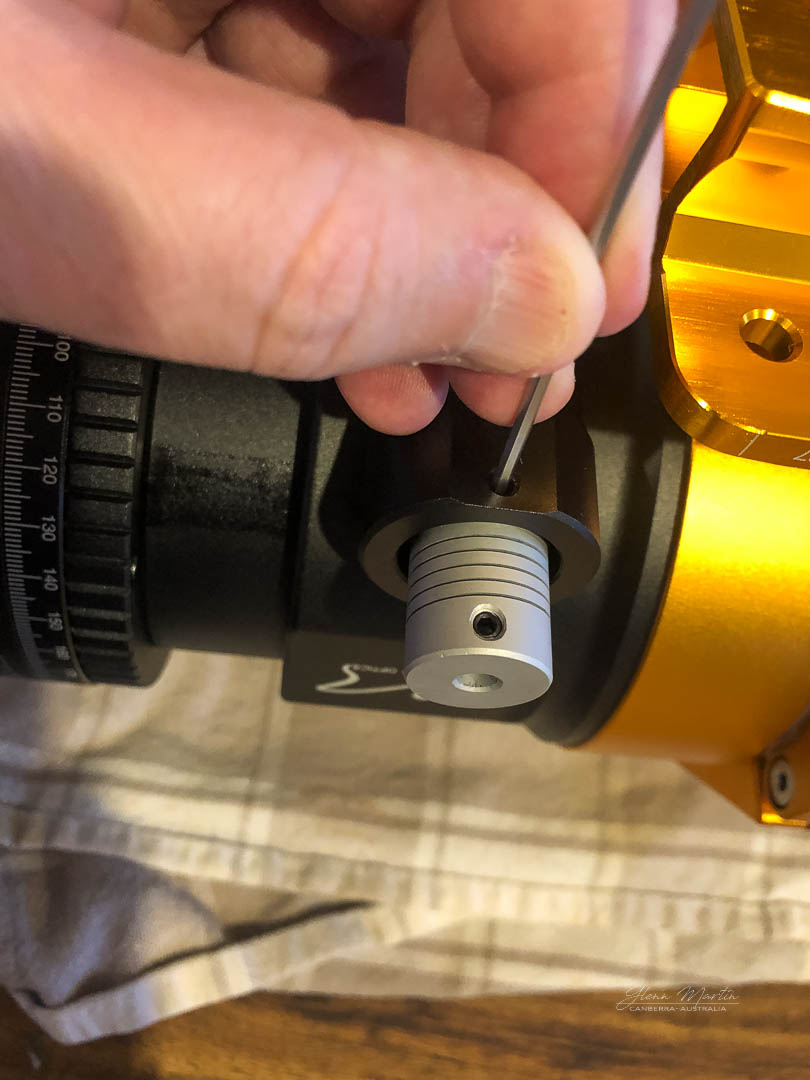
Step 4: install EAF onto the adaptor
Now install the EAF onto the other end of the adaptor also making sure to have one of the two grub screws on the flat side of the EAF's shaft. Don't worry, it's meant to flex a little.
Step 5: orientate the EAF correctly
With the focus knob on the other side of the scope, orientate the EAF so that the USB port is at the bottom of the scope with the vixen rail
Step 6: install the L bracket
Install the L bracket to the EAF first, but leave the bolts loose for adjustment. If necessary, loosen and move the Vixen rail for clearance (mine was fine out of the box). Next bolt the L bracket to the scope using the screw hole closest to the EAF, and the hole the locking thumbscrew was in previously. Adjust the focus knob as required to make sure the EAF is lined up squarely and then tighten the bolts on the EAF
Step 7: finished!
You're done! Step back and admire your work :) Note that your FLT91 will no longer fit in the bag that came with it unless you remove the EAF
Glenn Martin
Glenn Martin Photography
Canberra, Australia
October 2021