

William Optics - How to install a FLAT6AIII reducer onto a Fluorostar 91
Posted by Glenn Martin Photography on 10th Oct 2021
I've written this guide as finding information on how to accurately install the William Optics Flat6AIII reducer/flattener onto a William Optics Fluorostar 91 was a little tough. Hopefully it will help people in the future doing the same kit
Please note: this installation was being setup for a ZWO ASI2600MC Pro camera, so the backfocus of the reducer is accurate for this camera - other cameras may vary
I don't have any experience installing a reducer/flattener on other scopes so I can't say if following this will be accurate for your configuration if it's different
When your done you might be interested in videos I have on YouTube about astrophotography and photography more generally.
Agena Astro Affiliate Links
The basic numbers
If you read nothing else you need to know the following:
- You MUST remove the large spacer at the end of the scope, it has the knurled rotolock attached to it - this is the single biggest issue when people can't achieve focus
- If using a ZWO dedicated cam like me, set the reducer to a gap 5.4mm for the backfocus - this assumes no filters are being used
- The ZWO ASI2600MC I installed with this has a recommended back focus of 55mm - this does not change with the reducer
- Set the scope's initial focus to 21mm as a starting point
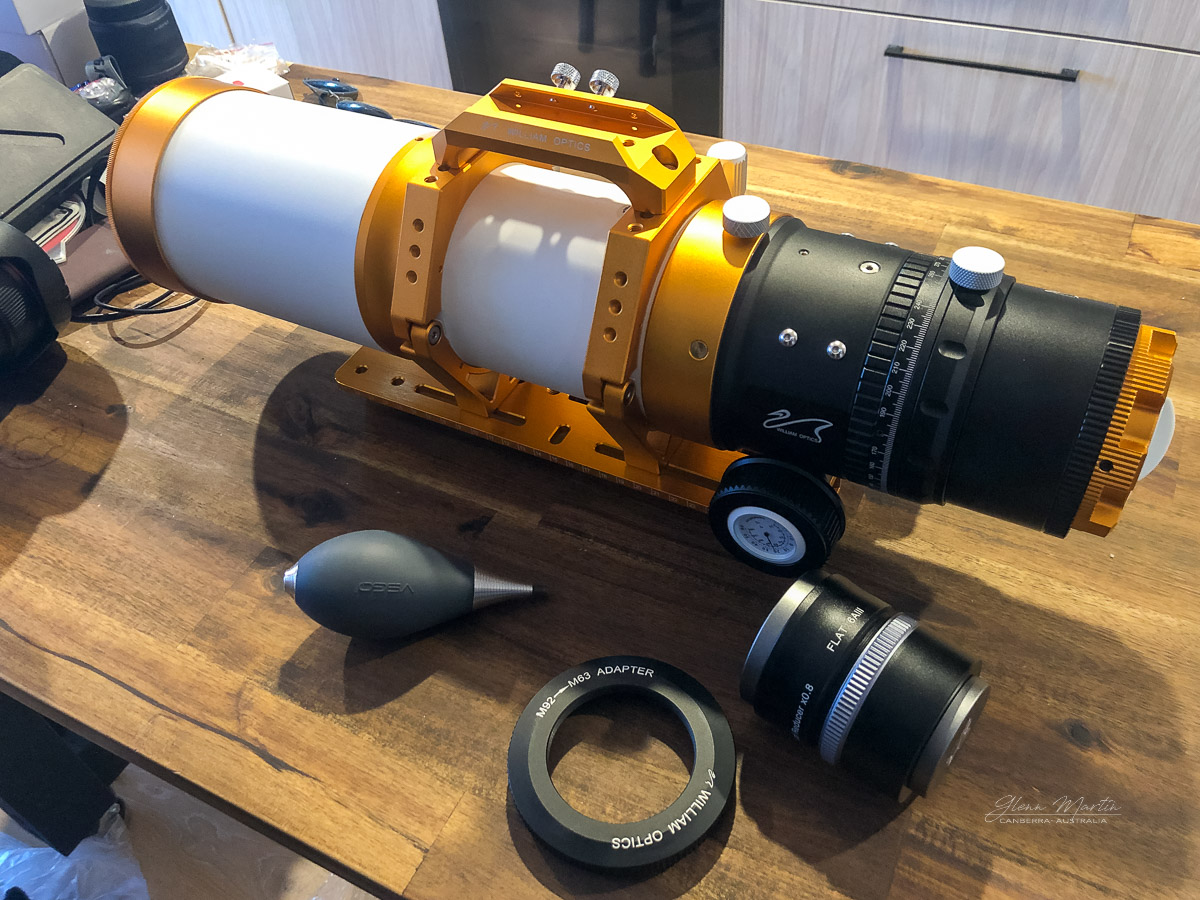
Go from this:
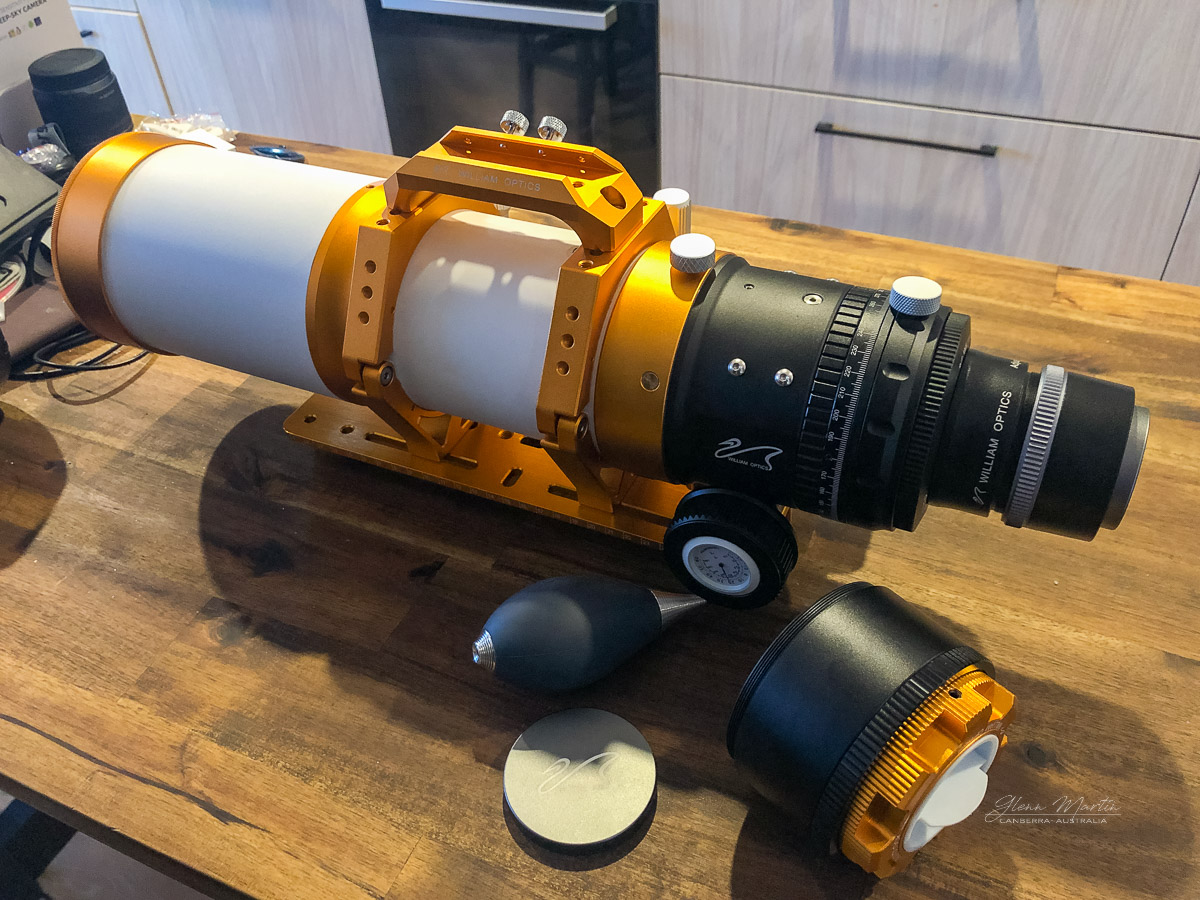
To this:
How to install the FLAT6AIII on the William Optics Fluorostar 91 Triplet
- Install the large ring M92-M63 adaptor onto the onto the reducer - take this opportunity to make sure the optics are free from dust and keep it covered until you install it on the scope
- The one thing that catches the most people is not removing the large spacer at the end of the scope. If you don't remove it you won't get the correct spacing to achieve focus. It literally just screws off (lefty loosy, righty tighty, people)
- Now screw the assembled reducer onto the end of the scope
- I'm pairing this with a ZWO ASI2600MC, to achieve correct backfocus you need a starting point of 5.4mm. Start screwing out the unmarked end of the reducer and you will see some guide marks appear. Making sure the locking ring is snug closest to the scope, take it out to 5.4mm as best you can - a cheap set of digital callipers will help here immensely. Once you have dialled it in, tighten the grey locking ring forward and double check you haven't moved the spacing in the process
BTW, the 2600MC backfocus is 55mm, this does not change with the above, so use the spacers appropriately that come with the camera to still have 55mm back from the telescope - At this point you could technically say you're done, but I also saw a recommendation to se the FLT91's focal length to 21mm as a rough start point. This will be handy if you also are going to install a Electronic Automatic Focus (EAF) controller which sometimes will prevent you from adjusting the focus manually without power. I have to say I did this and the focus was very very close straight away so I highly recommend this step
The instructions are repeated below, but this time with pretty pictures
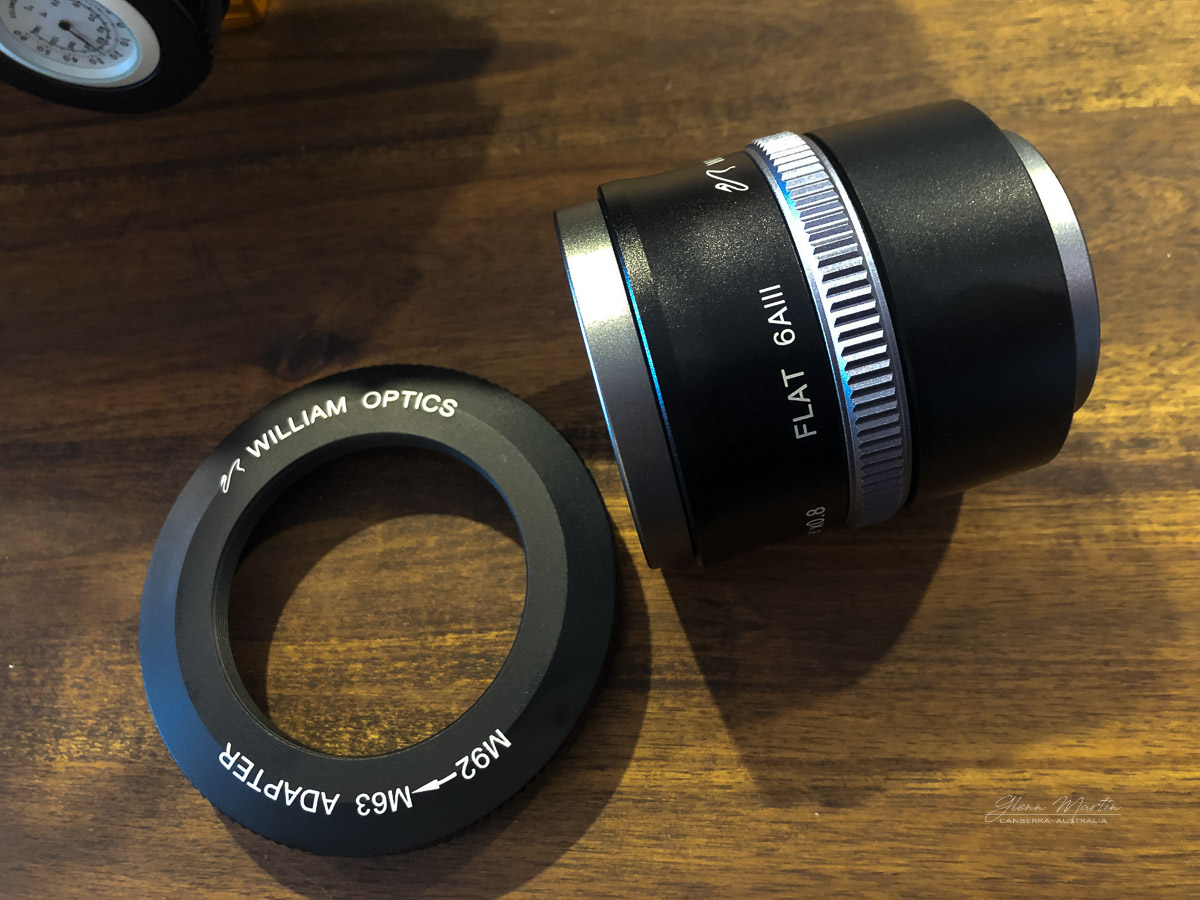
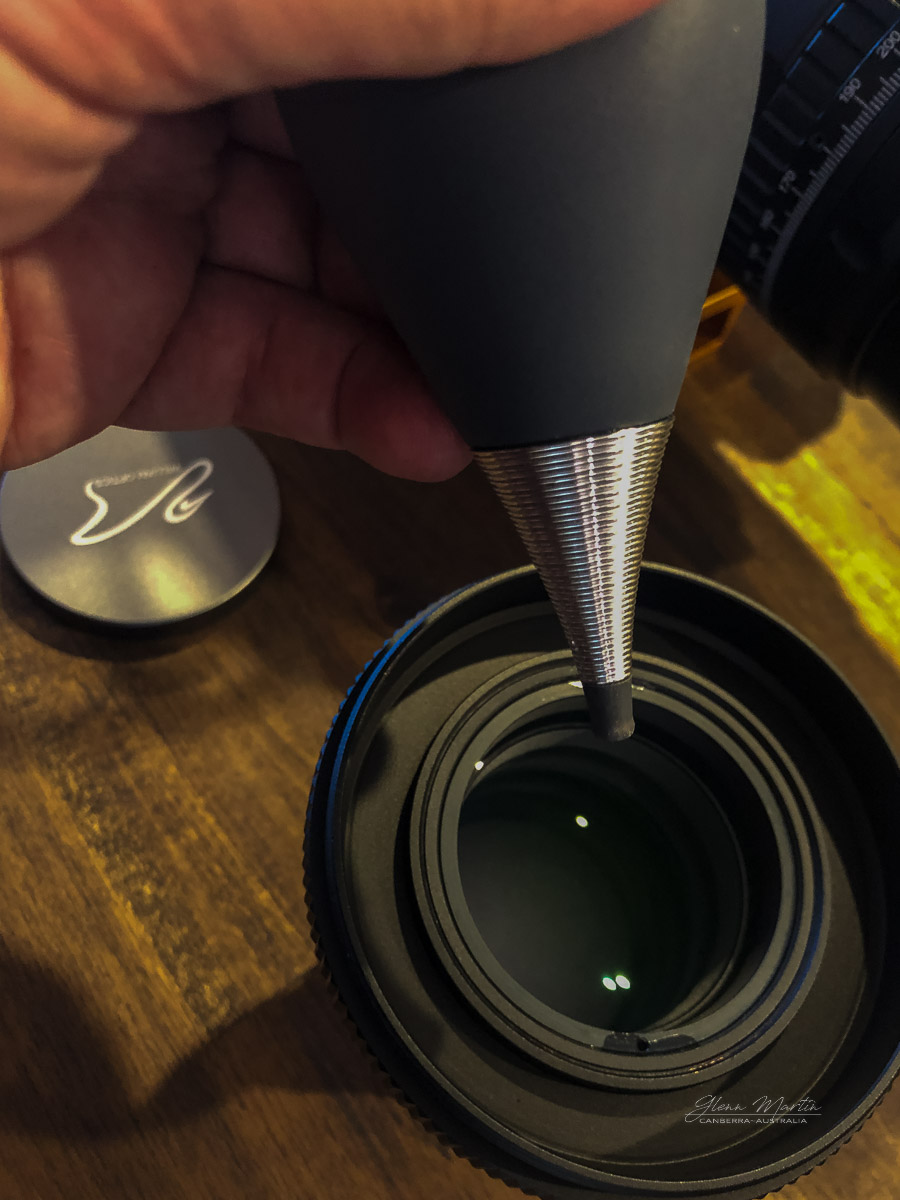
Step 1: assemble the William Optics FLAT6AIII reducer
Install the large ring M92-M63 adaptor onto the onto the reducer - take this opportunity to make sure the optics are free from dust and keep it covered until you install it on the scope
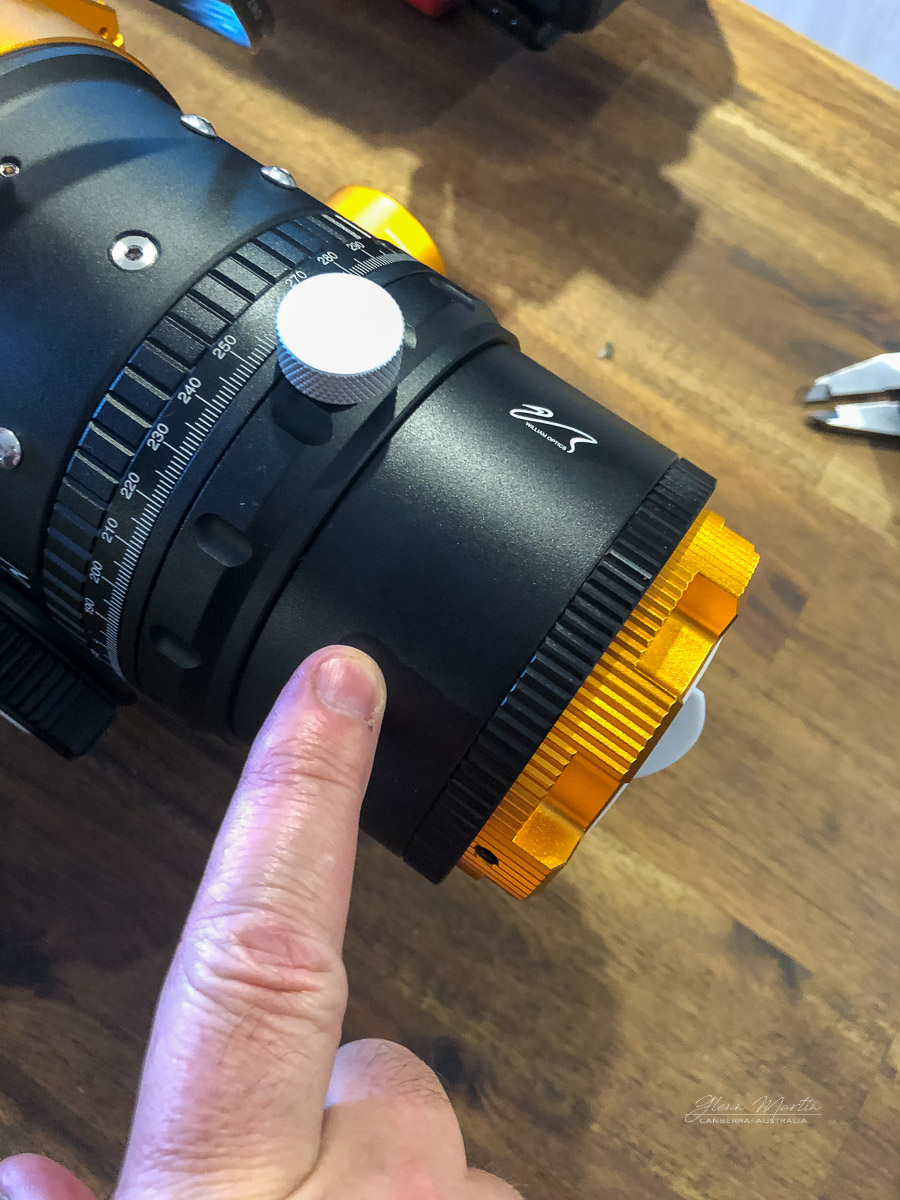
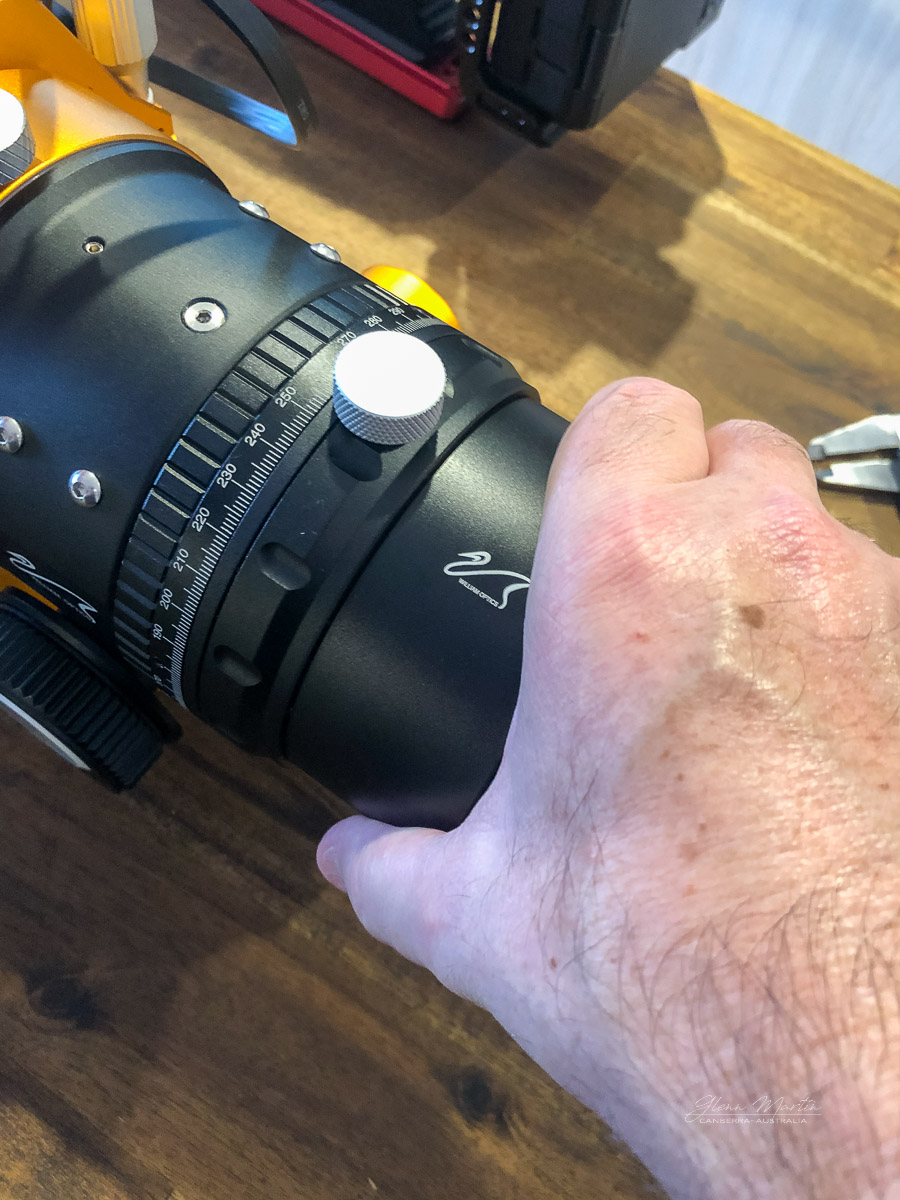
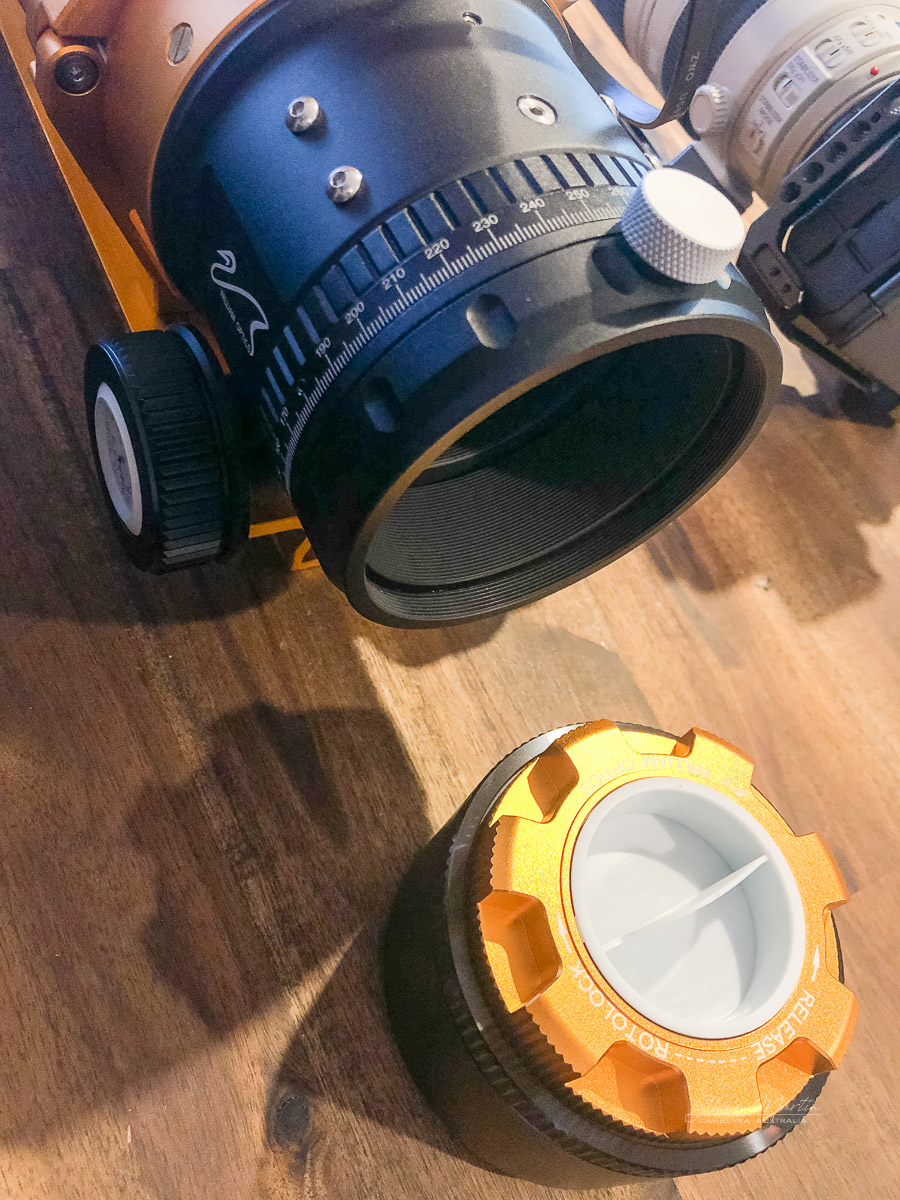
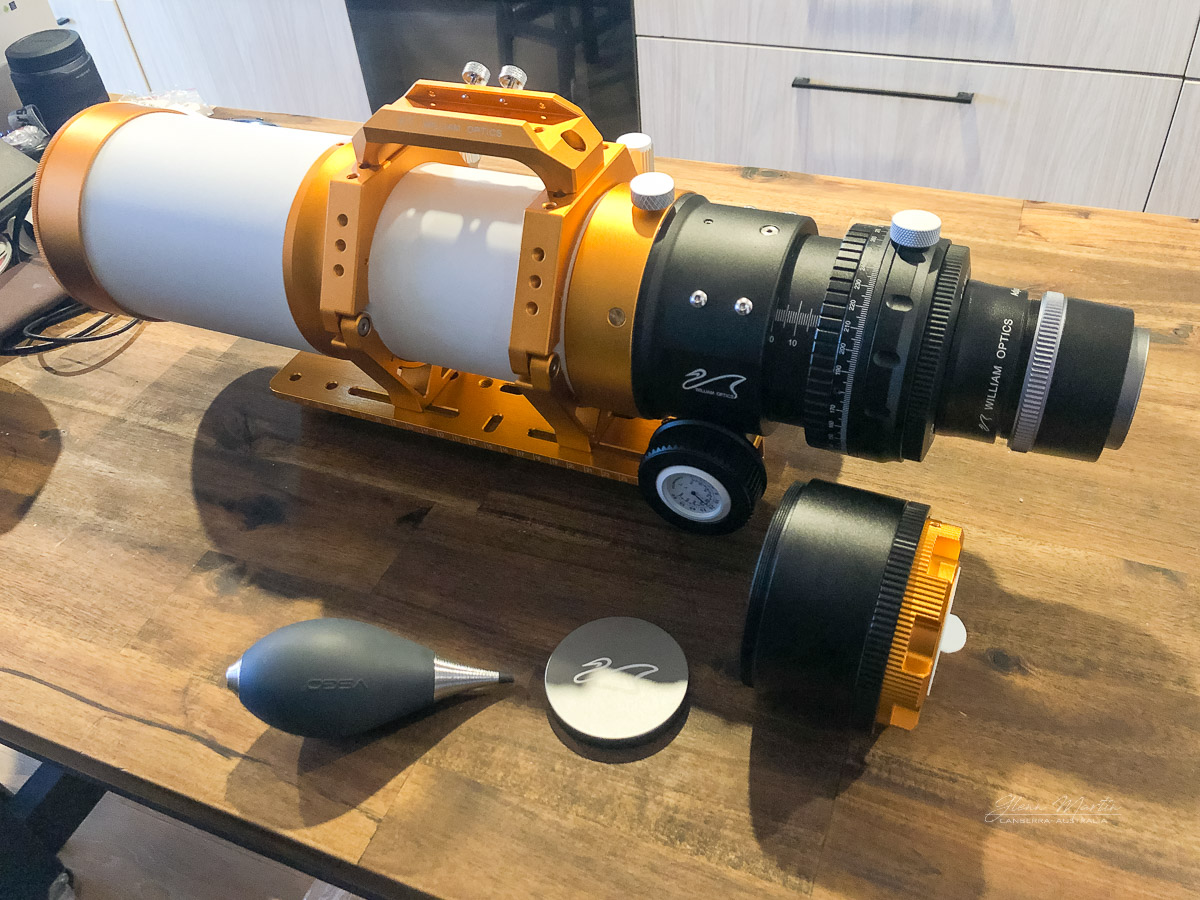
Step 2: remove spacer from telescope
The one thing that catches the most people is not removing the large spacer at the end of the scope. If you don't remove it you won't get the correct spacing to achieve focus. It literally just screws off (lefty loosy, righty tighty, people)
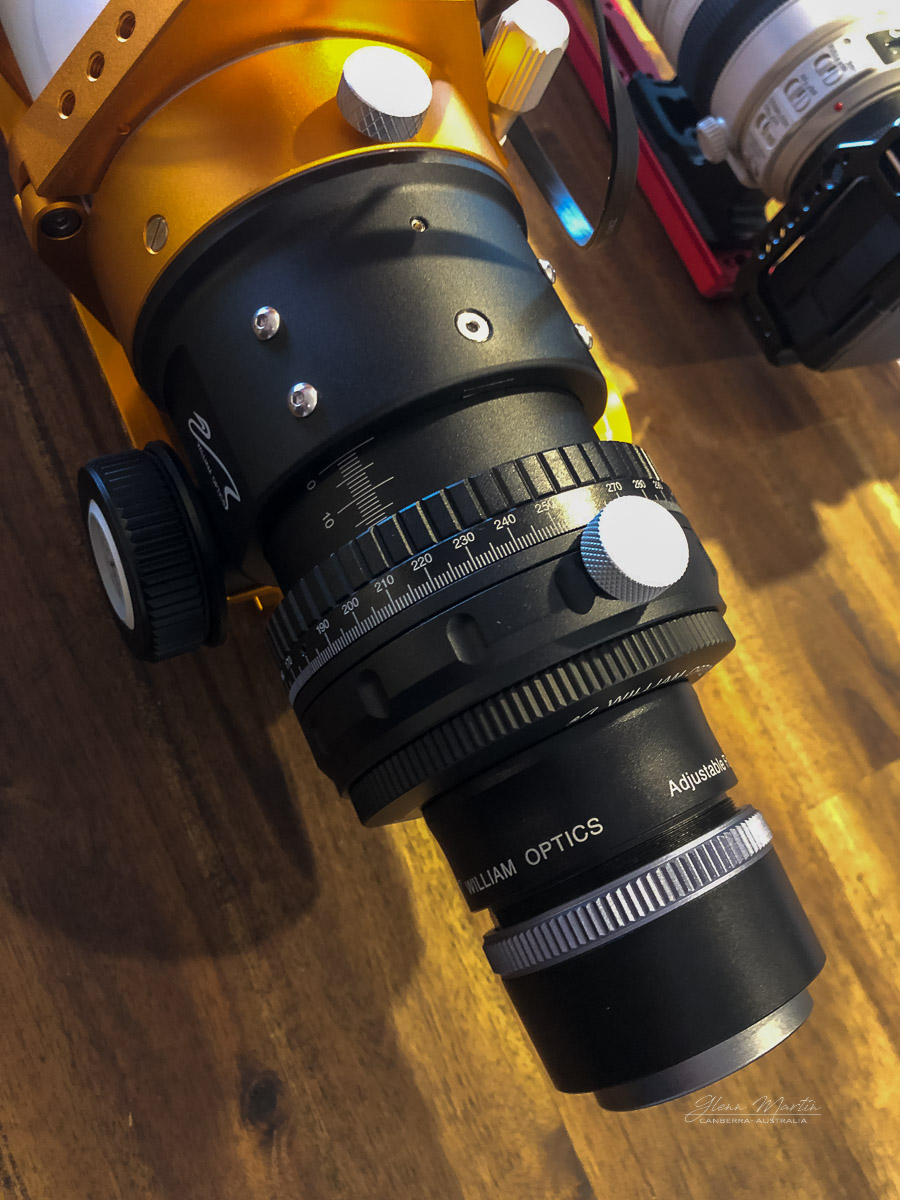
Step 3: install reducer onto the end of the telescope
Now screw the assembled reducer onto the end of the scope

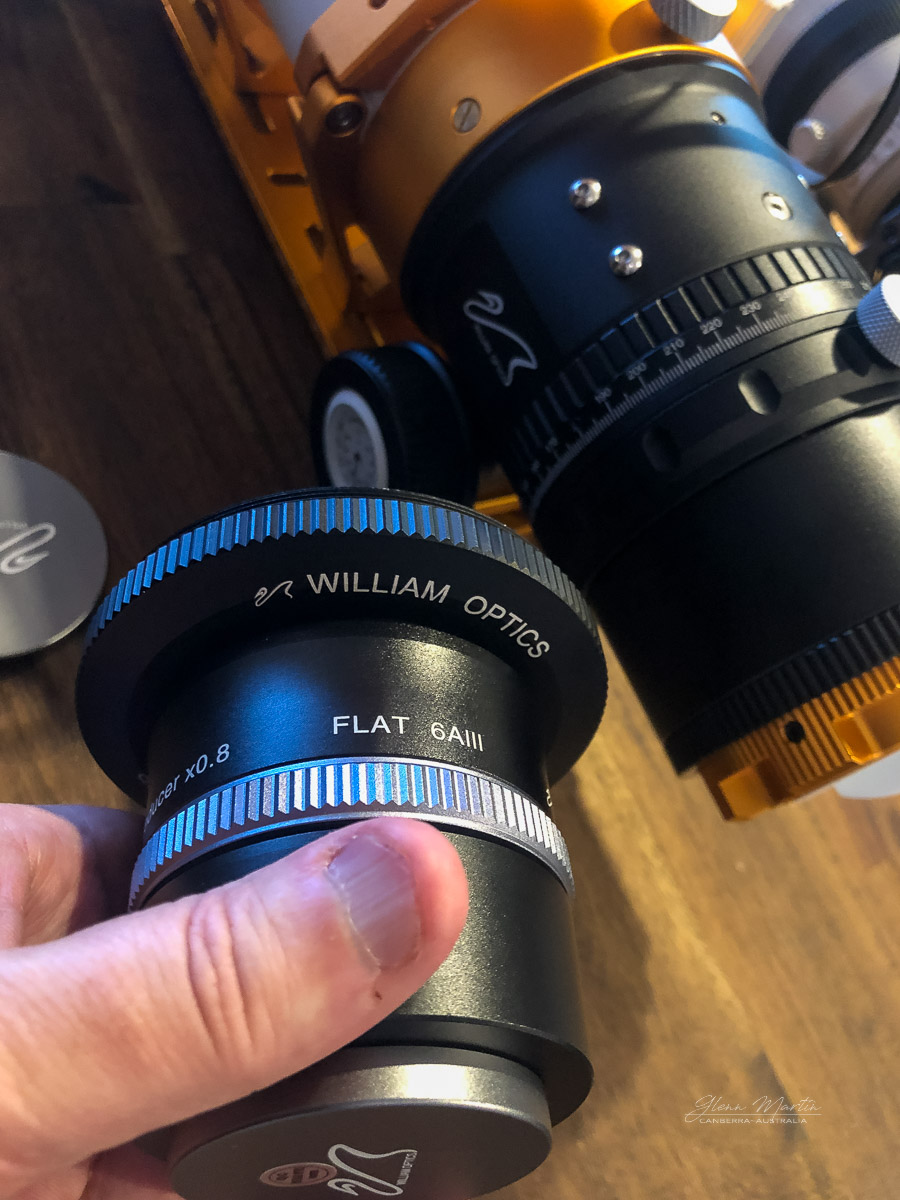
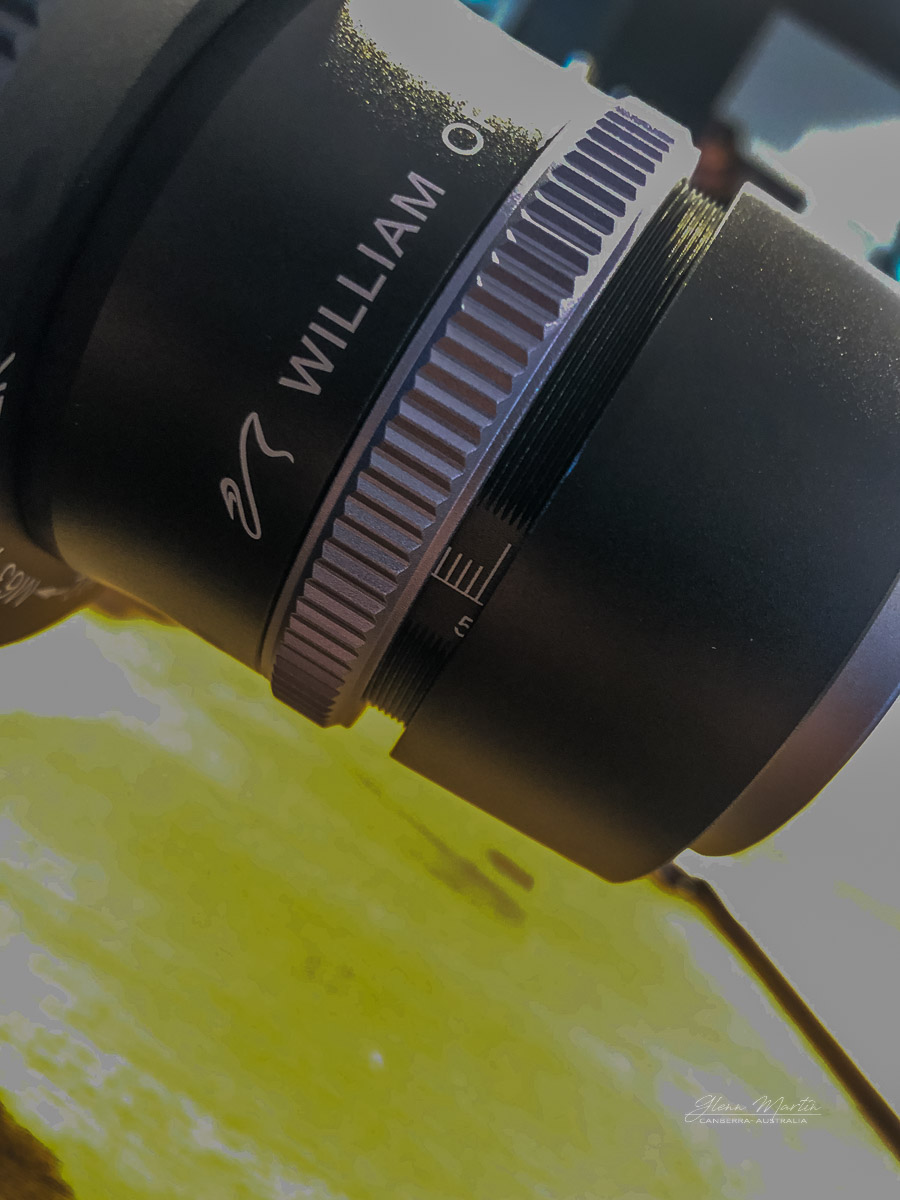
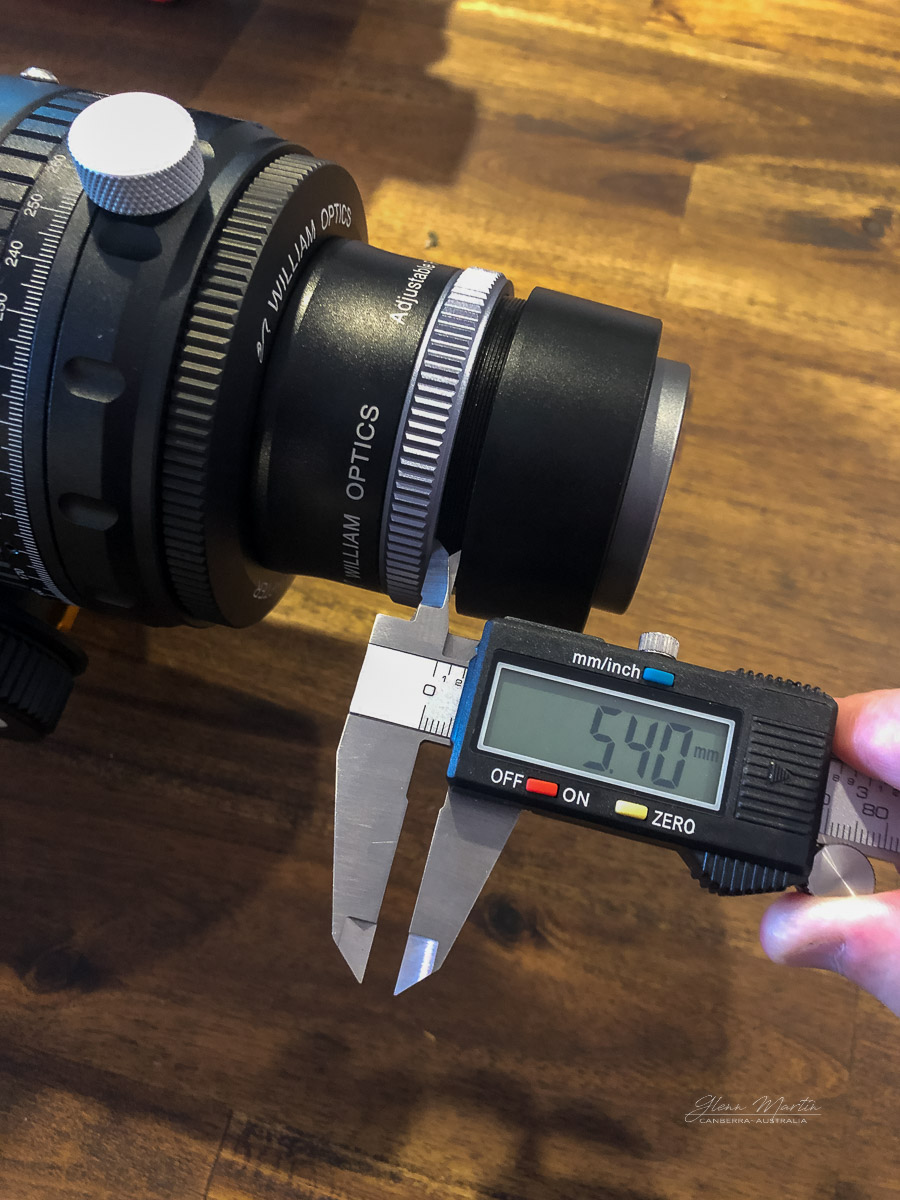
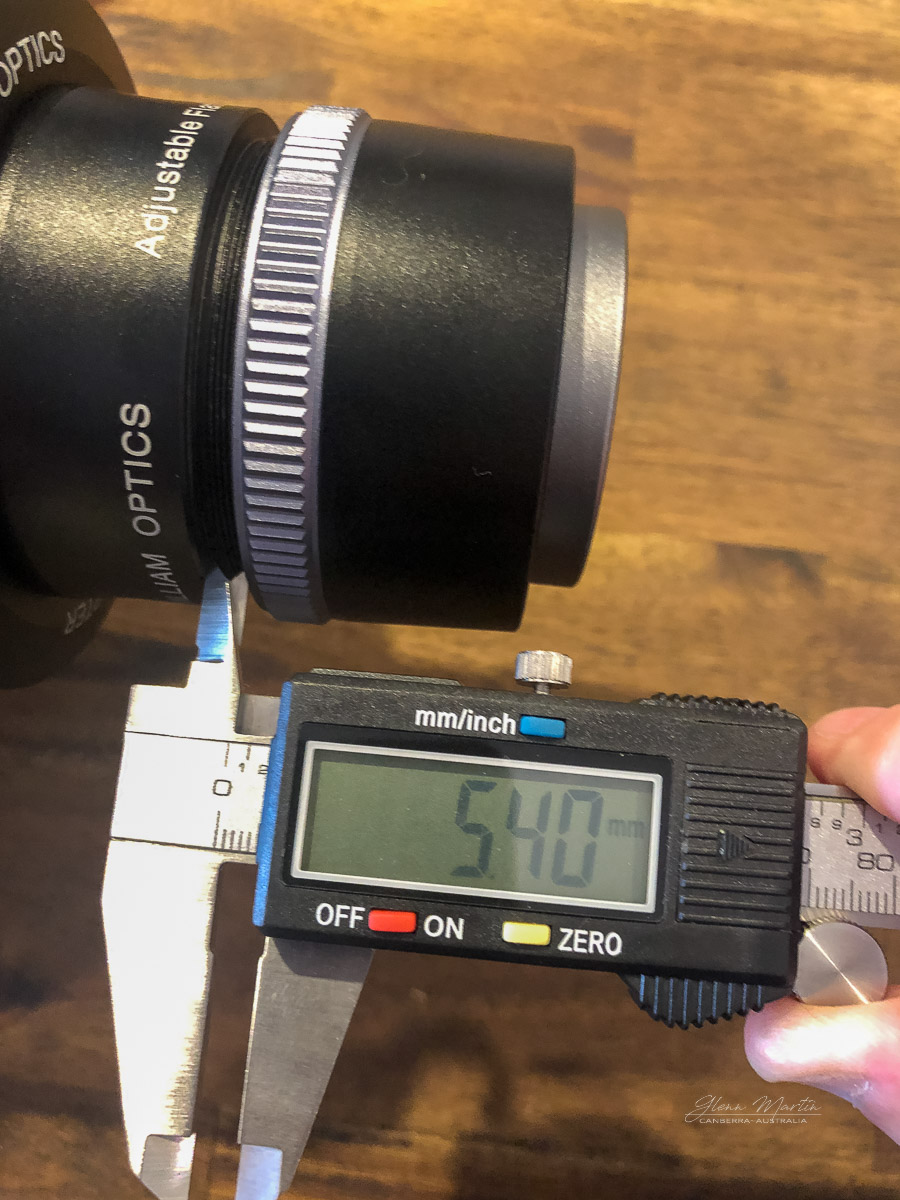
Step 4: set the FLAT6AIII to 5.4mm for backfocus
I'm pairing this with a ZWO ASI2600MC, to achieve correct backfocus you need a starting point of 5.4mm. Start screwing out the unmarked end of the reducer and you will see some guide marks appear. Making sure the locking ring is snug closest to the scope, take it out to 5.4mm as best you can - a cheap set of digital callipers will help here immensely. Once you have dialled it in, tighten the grey locking ring forward and double check you haven't moved the spacing in the process
BTW, the 2600MC backfocus is 55mm, this does not change with the above, so use the spacers appropriately that come with the camera to still have 55mm back from the telescope
Step 5: set the Fluorostar 91's focal length to 21mm
At this point you could technically say you're done, but I also saw a recommendation to se the FLT91's focal length to 21mm as a rough start point. This will be handy if you also are going to install a Electronic Automatic Focus (EAF) controller which sometimes will prevent you from adjusting the focus manually without power. I have to say I did this and the focus was very very close straight away so I highly recommend this step
You're finished! What are you reading this for, go photograph something!
Glenn Martin
Glenn Martin Photography
Canberra, Australia
October 2021